Build a Full-Stack React Application (using React, AWS Amplify, AppSync, Cognito, GraphQL API and S3 Storage)
Project Objectives
To host a simple full-stack web application using AWS Amplify, utilise the Amplify CLI, deploy a GraphQL API and Database, lastly setup S3 storage solution for the project.
The following article is based on the following AWS Tutorial >
https://aws.amazon.com/getting-started/hands-on/build-react-app-amplify-graphql/
This is my interpretation of the tutorial and in this project I will manually go through all the steps and provide additional information where applicable. Also troubleshoot and describe any issues and potential issues.
Prerequisites
AWS Account with Admin access
Node.js v10.x or later
GitHub account
Git version control application
Create React environment
Our first task is to create our react app environment as well as give our app a name. So we do this with the following command
$ npx create-react-app amplifyapp
npx is Node Package Execute, this is running a packaged called called create-react-app without installing this package globally on our system. This packages contains a set of scripts and configurations to create a new React project development environment, then we have the name of our app which is amplifyapp. After running this command you may get an npm (Node Package Manager) notice, the example shown below is telling me about a new version of npm. So I decided to update npm by running the suggested command, this is optional.
Creating a new React app in /home/phil/amplifyapp.

npm notice New minor version of npm available! 10.2.4 -> 10.4.0
npm notice Changelog: https://github.com/npm/cli/releases/tag/v10.4.0
npm notice Run npm install -g npm@10.4.0 to update!

Once the update is optional update is complete the version can be checked with the
following command

$ npm -v
10.4.0

We can move in to the new amplifyapp folder and list the folder
contents

$ cd amplifyapp/
xxxx@pop-os:~/amplifyapp$ ls
node_modules  package.json  package-lock.json  public  README.md  src
Setup GitHub repository and push changes
Now we have our React app environment setup we need to create a GitHub repository. On GitHub create a new repository called amplify-react-graphql. Select the repository and you’ll see under Quick Setup HTTP | SSH clicking on these will give you either HTTPS URL or a link to authenticate with SSH. So depending how you have Git authenticated with GitHub you will select one of these two options. As I am using SSH via a generated token and that token added to my GitHub account I will go ahead and copy the SSH command which in my case is git@github.com:SuperNolvas/amplify-react-graphql.git
Let’s go back to our terminal and inside the amplifyapp directory initialise, stage changes to the contents of this folder, setup our first commit and then push the commit to our GitHub repo
$ git init #Initialise directory as Git repository
$ git add . #Add modified and new files in the current directory to the staging area
$ git commit -m "initial commit" #Save changes added to the staging area ready to be pushed to remote repo

$ git remote add origin git@github.com:username/reponame.git #Associate remote repo with local Git repo
$ git branch -M main #Set branch name to main
$ git push -u origin main #Push changes to remote repo on main branch

Troubleshooting Git

$ git status #helpful to see which changes are to be committed or if any have been staged
$ git branch #Shows current branch, if it doesn't display anything then make sure you have a commit setup
Once the push operation is successful, go to your GitHub repository and check to see if the files have been changed/uploaded to GitHub.
Deploy the Amplify App
Next to deploy the amplifyapp, login to AWS Console, go to Amplify service scroll down and under Amplify Hosting click get started, then select GitHub, then a new page will open asking to authorise with your GitHub account. Check the GitHub identity is the correct one and select Authorise AWS Amplify
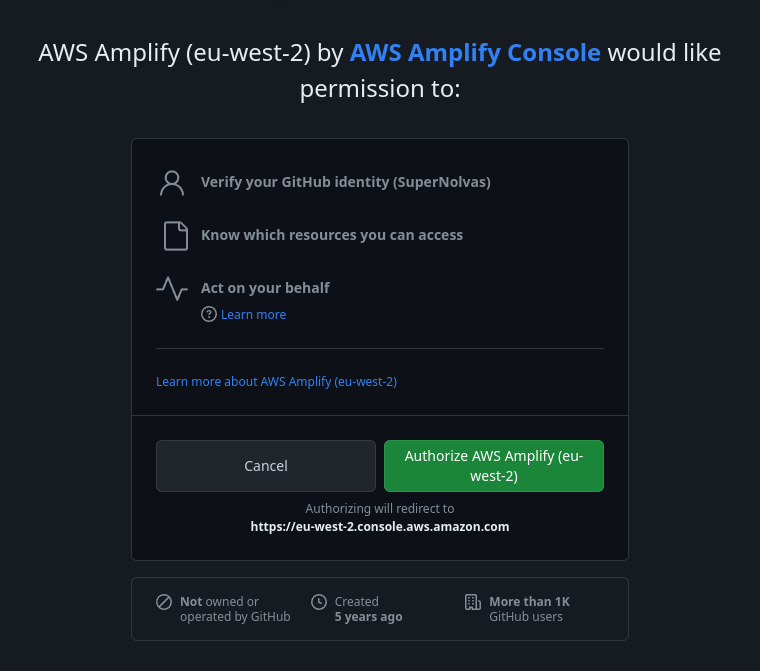
Note the region here is eu-west-2, if the region isn’t correct then go back to Amplify homepage in AWS console and change region. On the next screen you can choose to let Amplify access all repositories or a selected repository. Make your choice and then once authorised you can select the correct repository in Amplify dashboard and the branch you wish to use.

Review app name and build settings, I used the default selections here. Then you will get a review of the repository details and app settings, check these are correct and then select Save and Deploy.
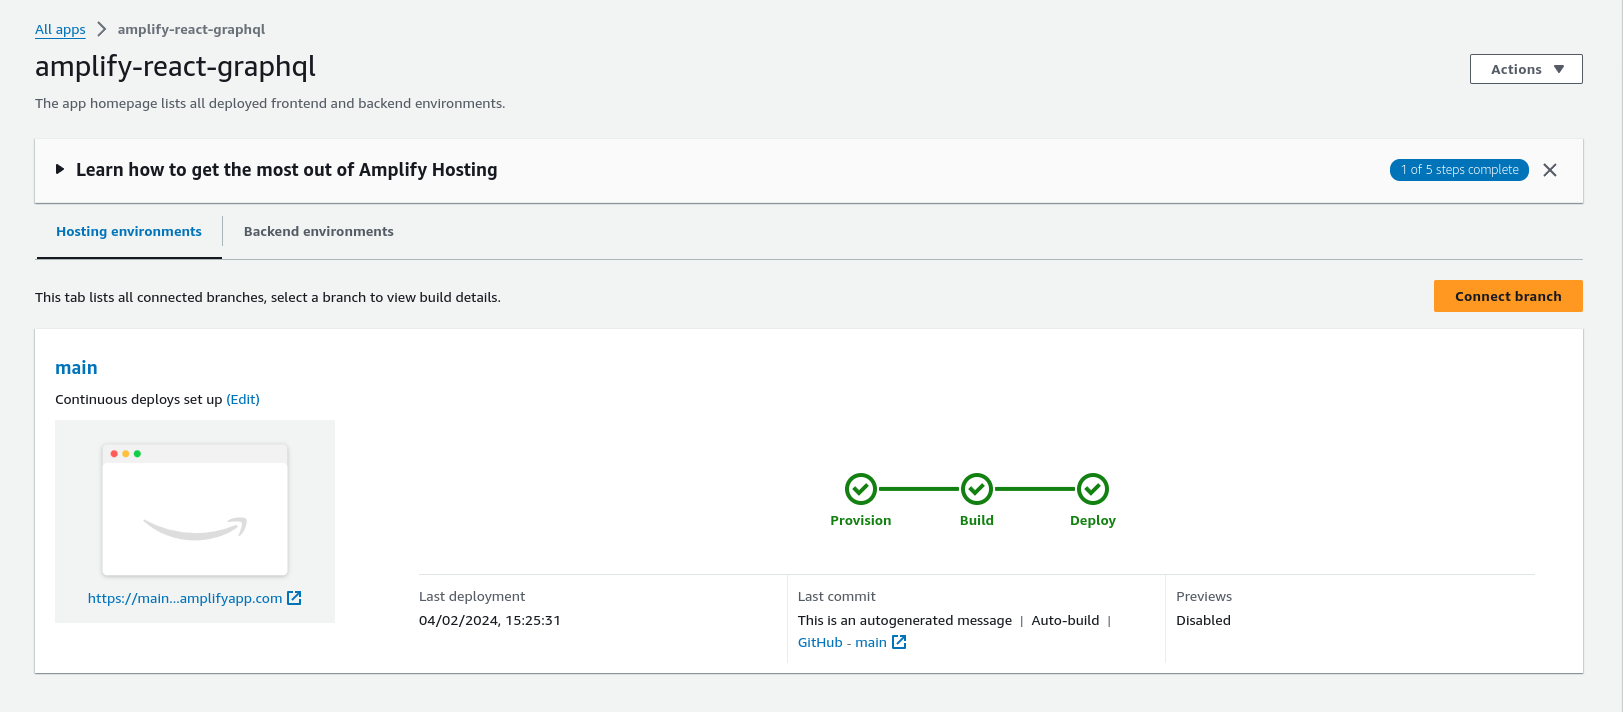
Let the app build wait time is a few minutes. Once Provision/Build/Deploy are ticked green then click on the thumbnail or URL on the left hand side of the page to open up the web app.
Edit Javascript code to make changes to our app
Next we will go to our local git folder and make some code changes and push them to GitHub, then check our web app page to see if the code changes have updated our site.
As I have VSCode installed. I can go ahead and open up VSCode from the terminal by navigating to the amplifyapp folder and running VSCode from the terminal opening up all the files in the current folder
$ cd amplifyapp
phil@pop-os:~/amplifyapp$ code .
This will allow editing of the code and pushing back to GitHub via VSCode.
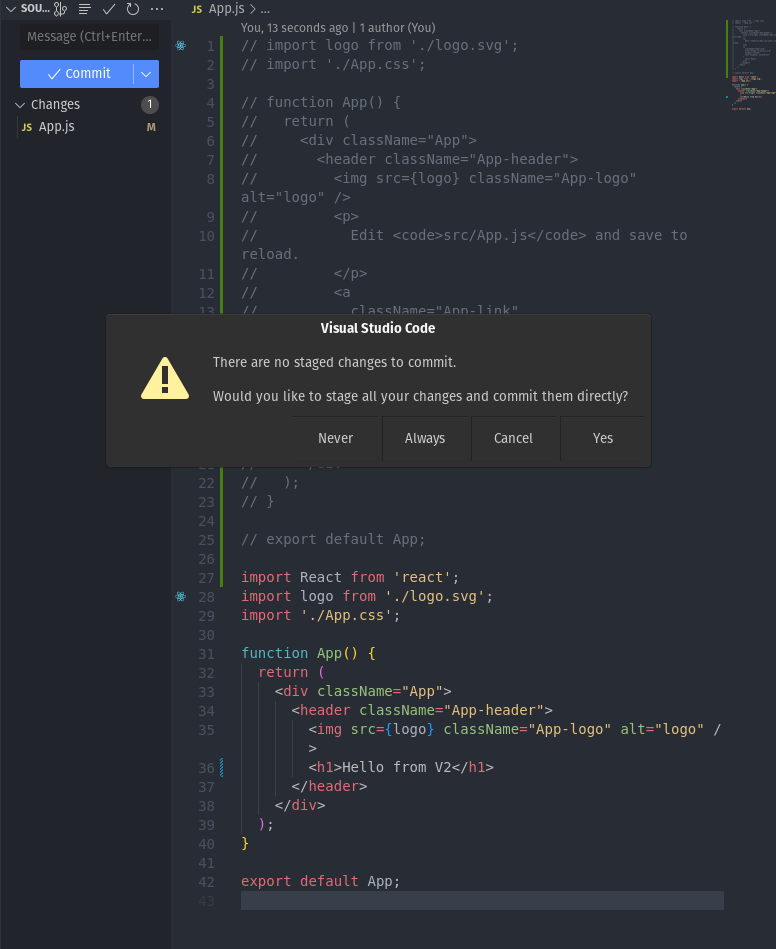
Amplify will pick up the pushed changes to the GitHub repository and rebuild the app. Give this a few minutes and then open up the app and it should show the pushed changes were successful by showing the updated app

Note using VSCode deviates from the tutorial, if you aren’t ready or don’t wish to use VSCode then you can edit from the terminal with vi, vim. nano whichever editor you have installed or edit the app.js file from your desktop GUI. Then follow the tutorial and use the git add . git commit, git push commands as usual.
OK so a review of what’s happened so far. We created a reactapp locally on our system, we linked this working folder to a repository we made on GitHub. We linked AWS Amplify to our GitHub, checked our initial code was working, revised the code and pushed it back to GitHub and then Amplify rebuilt the app and hosted it. So we have a React app hosted in AWS Cloud utilising a fairly simple process.
Install Amplify CLI
Next up we will install and configure the Amplify CLI which will leverage continuous deployment to further automate the build and deployment process of our React app and also integrate with various AWS services such as authentication and APIs which we are going to use to setup the GraphQL API. Amplify CLI commands will allow us to achieve these goals.
Install the Amplify CLI
$ xxxx@pop-os:~$ sudo npm install -g @aws-amplify/cli

added 33 packages in 2m
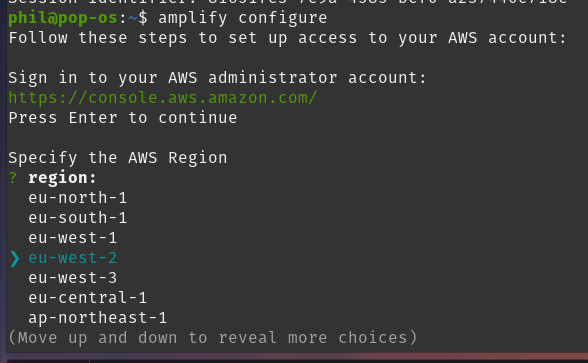
Configure Amplify CLI
run aws configure from the command line, login to your AWS account and select the region where Amplify was setup for our app, in this case it is eu-west-2
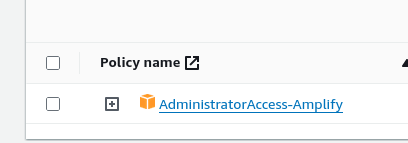
Enter amplify username, and attach AdministratorAccess-Amplify policy to the user
Next click on create access key and then press enter in the terminal and copy the access key and secret to authorise Amplify CLI with your AWS Account. Full details of the process are linked here >
https://docs.amplify.aws/javascript/tools/cli/start/set-up-cli/#configure-the-amplify-cli
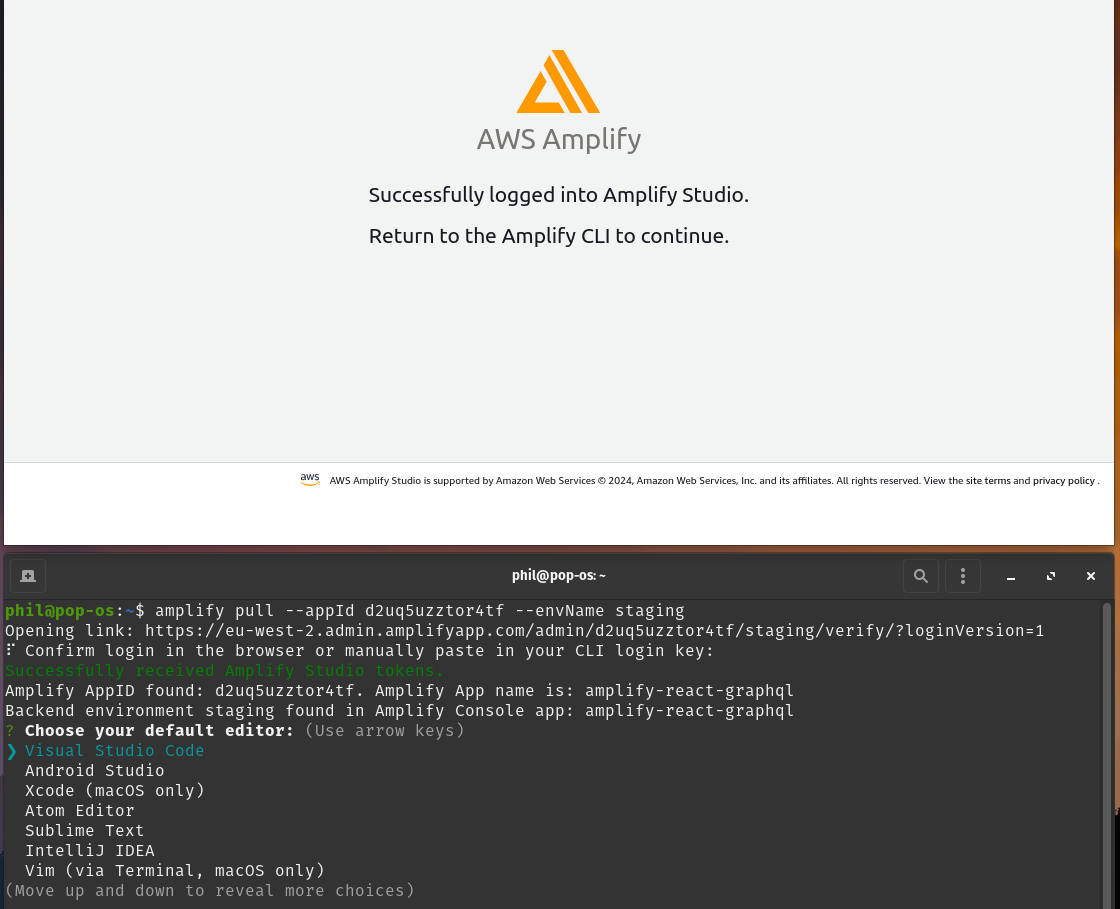
Go your Amplify project in the Amplify dashboard and select Backend environments. Enable Amplify Studio, then copy the command from Local Setup Instructions and run this
Troubleshooting Error with Backend
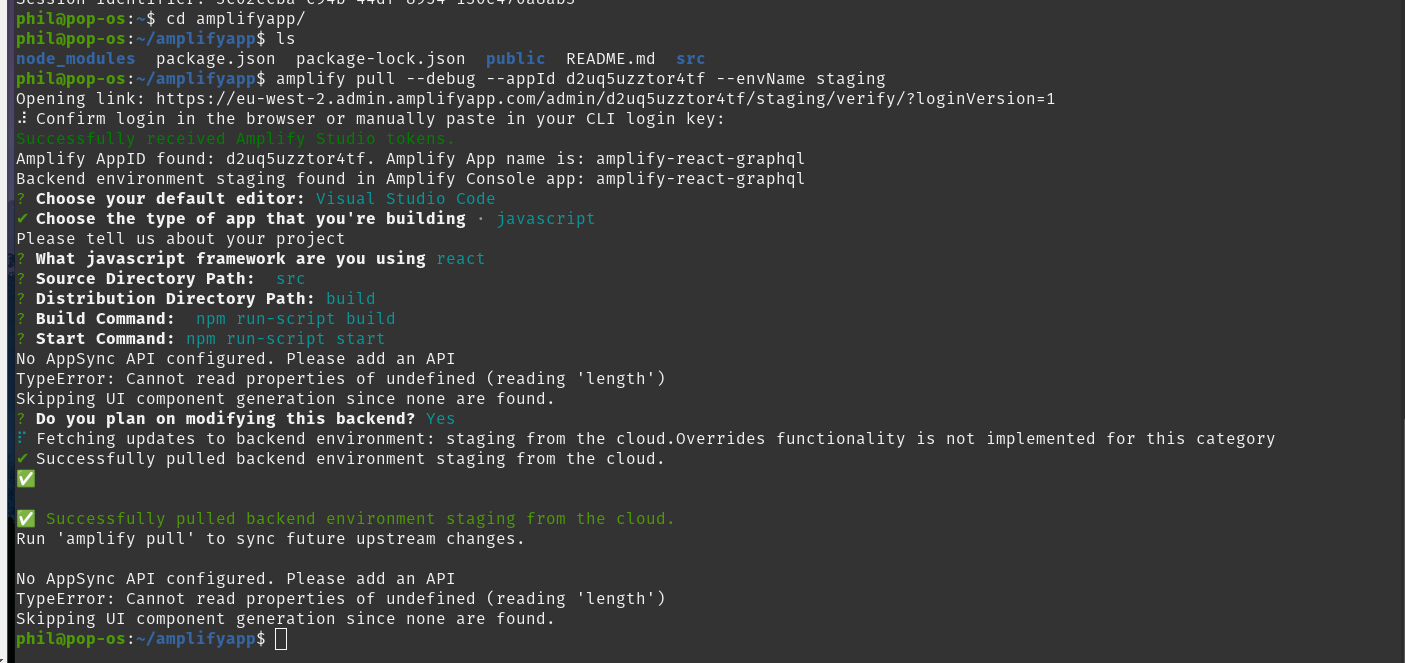
This failed with an error “Failed to pull the backend” I resolved this by running the amplify pull command as shown in the above screenshot again but this type from within the amplifyapp directory. How I discovered this was by running the above command in debug mode and then from the output I saw that no such file or directory /home/phil/.steampath was showing, so this was a big clue I was in the wrong directory.
Error “Failed to pull the backend” run amplify pull with the - - debug flag and analyze the output

To resolve the error, move in to the amplifyapp directory and run the amplify pull command again
Lets check the amplify console command can open Amplify Studio

Amplify Studio opens
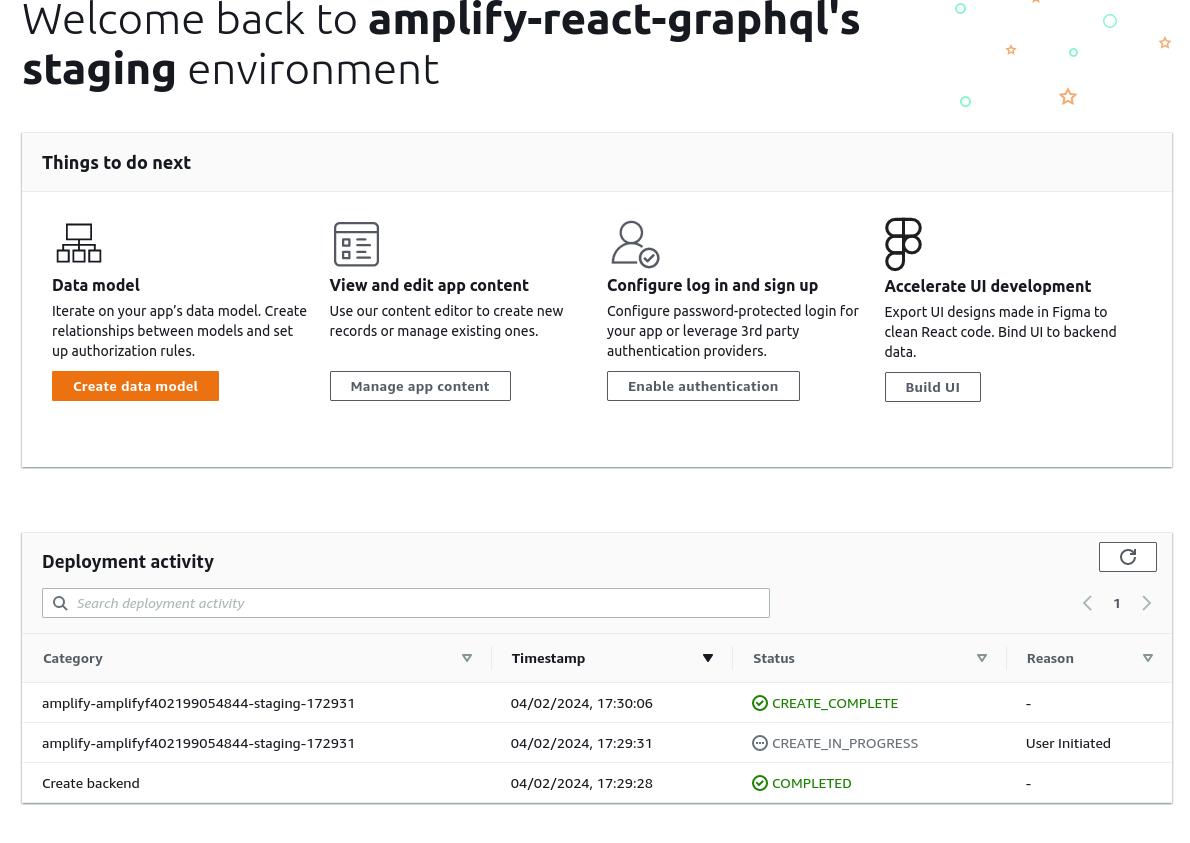
OK so it wasn’t plain sailing with this setup but it was useful to utilise the Amplify CLI - - debug flag to assist with the error troubleshooting process and it was simple fix. So to review the process so far, we have the Amplify project initialised and the Amplify Studio visual interface setup also complete.
Setup AWS Amplify libraries and Amazon Cognito authentication
Next we need aws-amplify library for client-side APIs so our code can interact with AWS services and we also need some framework UI components. To install these >
sudo npm install aws-amplify @aws-amplify/ui-react
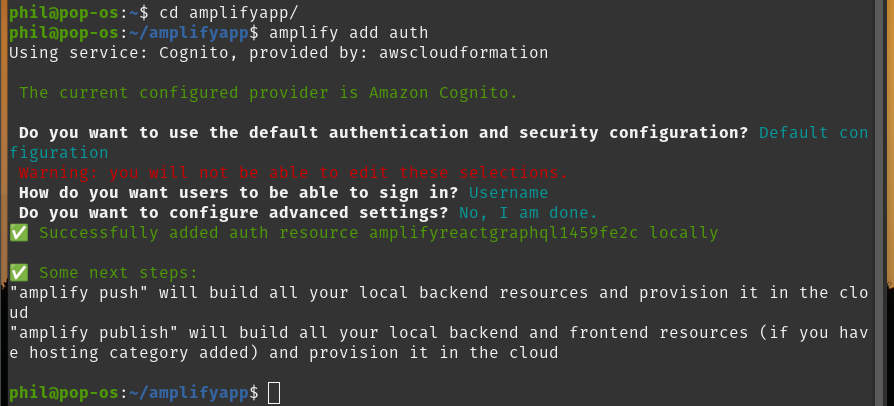
We want to setup authentication for our app using Amazon Cognito, run the command amplify add auth. (make sure you are in the project directory when running this command). This is staged locally
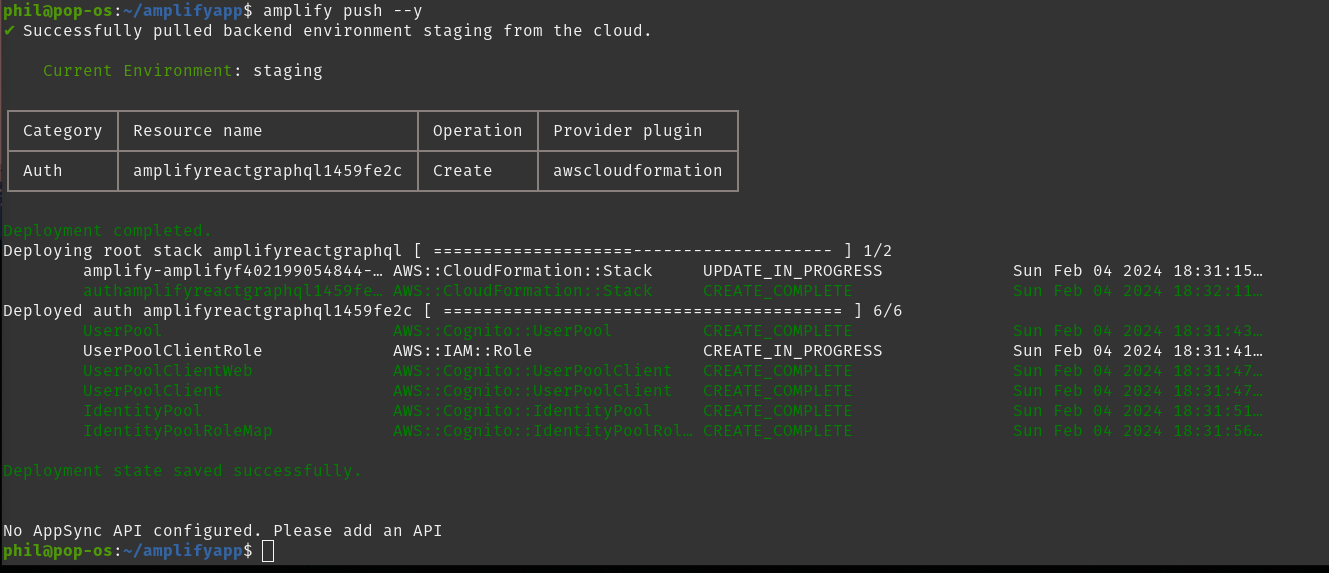
Now we need to deploy the authentication service to do this use amplify push - - y
Open code editor and add the following code to src/index.js below the last import statement in the file to configure the React project with Amplify resources
import { Amplify } from 'aws-amplify';
import config from './aws-exports';
Amplify.configure(config);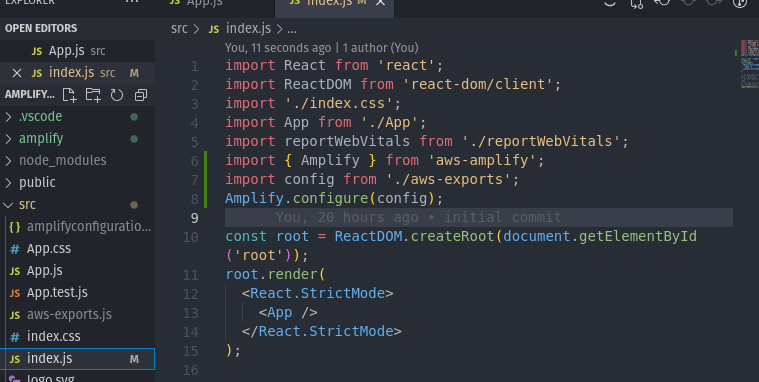
Add the authentication flow in app.js by replacing with the code below
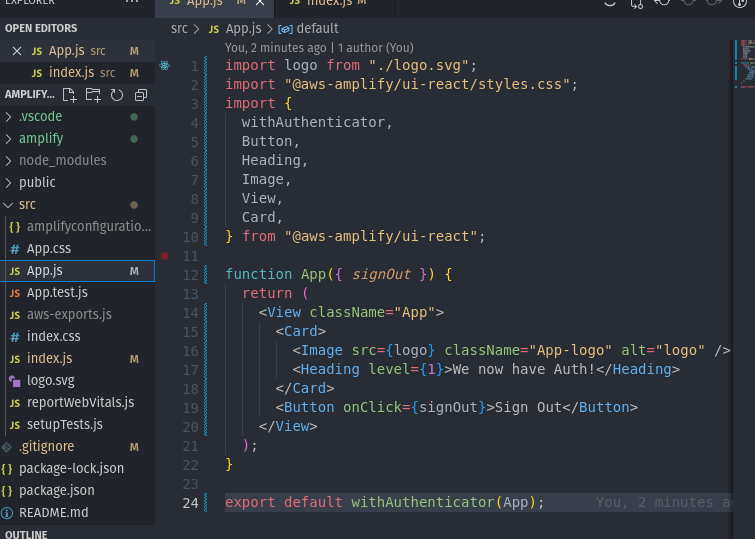
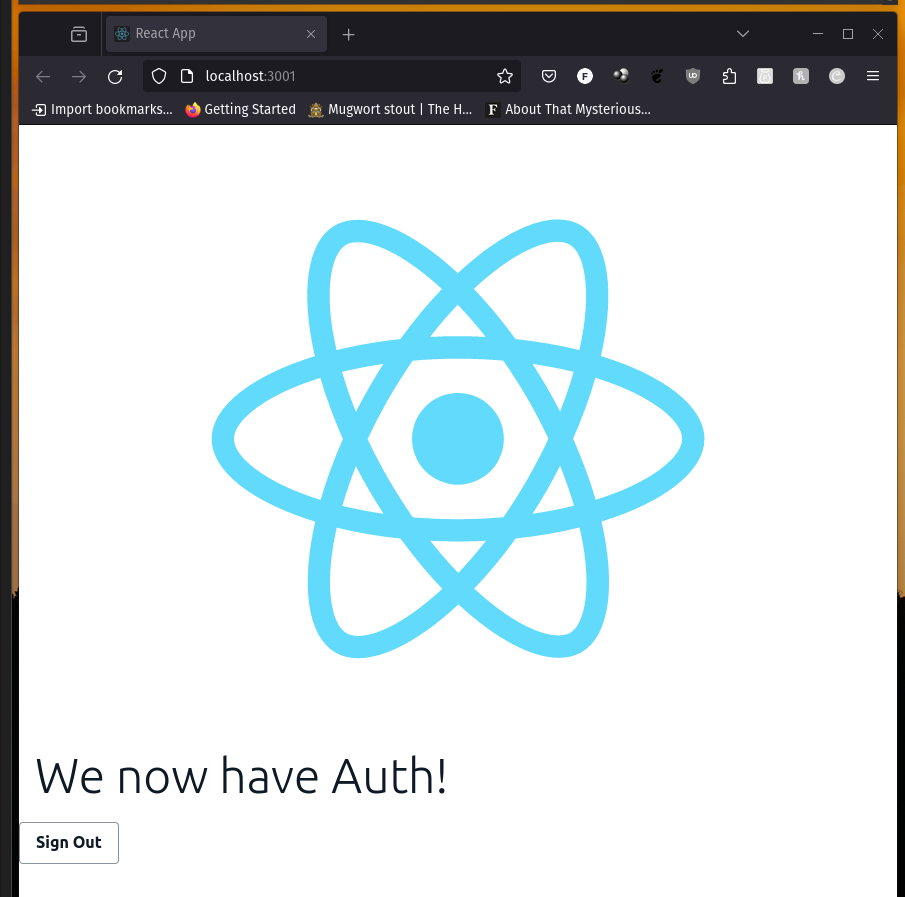
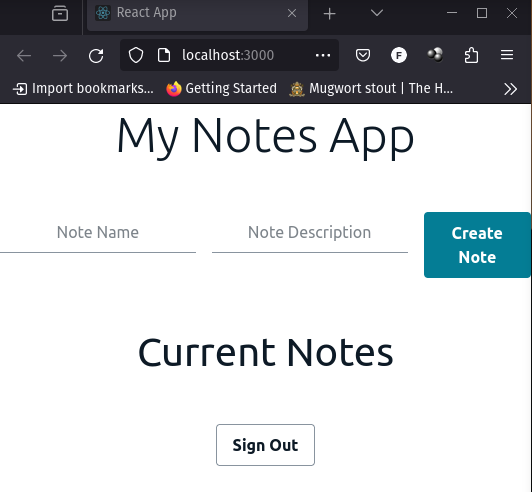
The withAuthenticator component will create an entire user authentication flow, so users can sign up, sign in, reset their password and setup multi factor authentication (MFA).
Test the application authentication
Run npm start to launch the app locally to test it
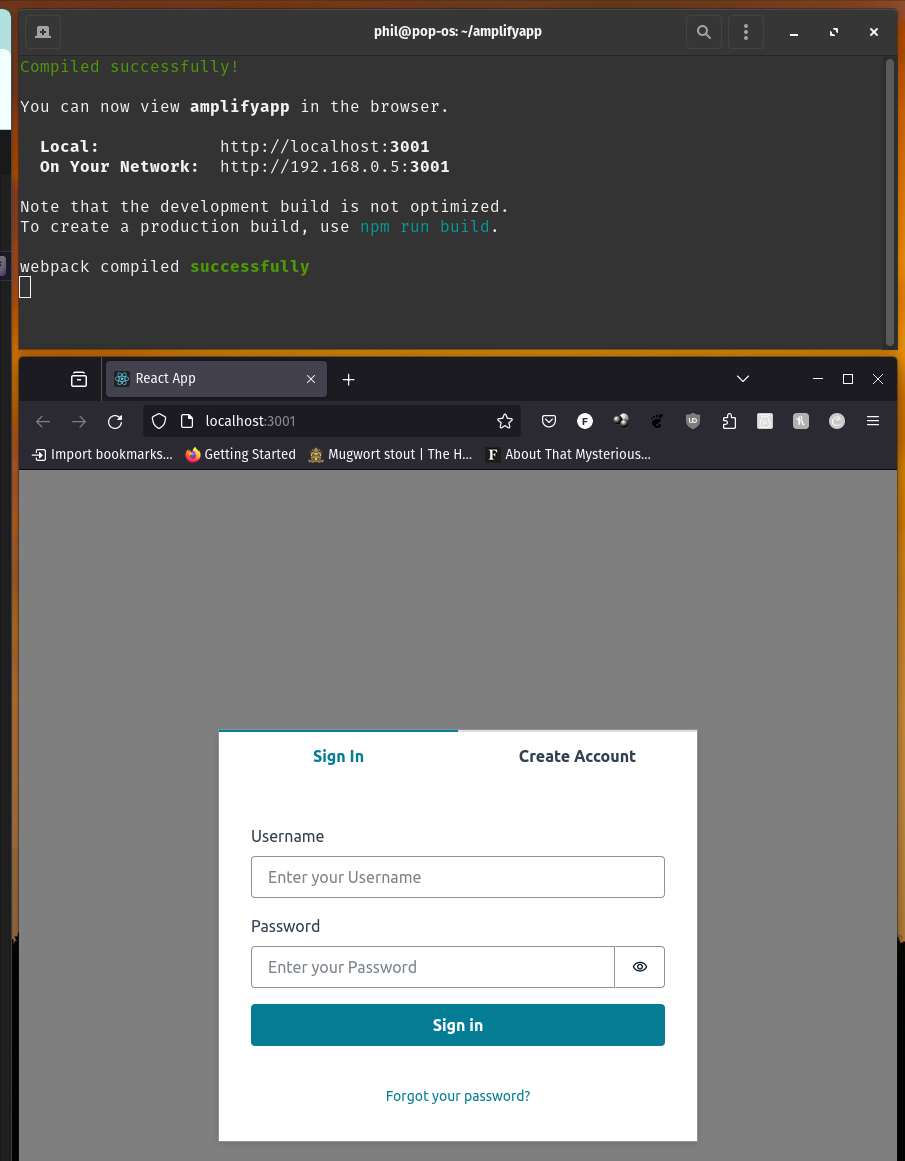
Create an account, test and then Sign Out
Setup AWS Amplify Backend
Next, we need to configure the Amplify build process to add the backend as part of the continuous deployment workflow. From your terminal window run:
amplify consoleand select AWS Console
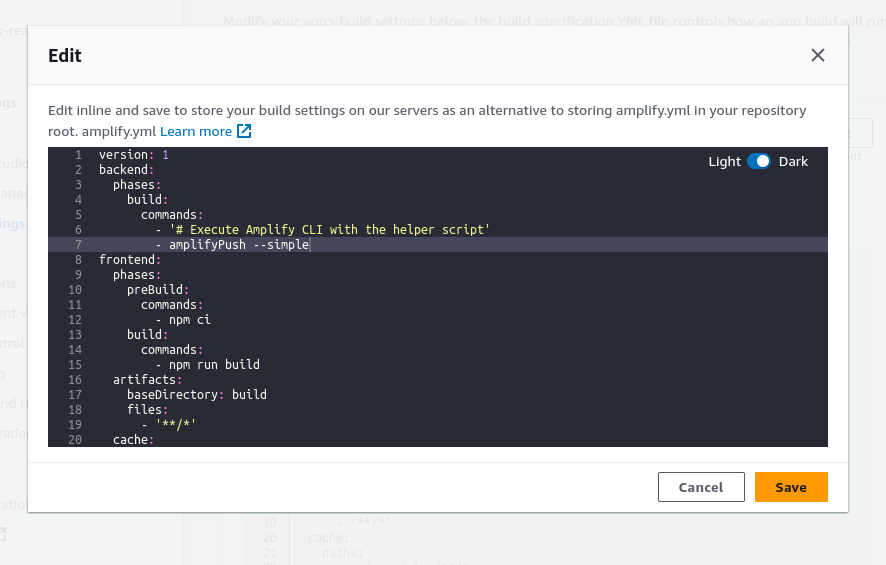
From the side menu go to App settings > Build Settings and edit the amplify.yml adding in lines 2-7 shown in the code edit below, make sure you add the lines and do not over write them.
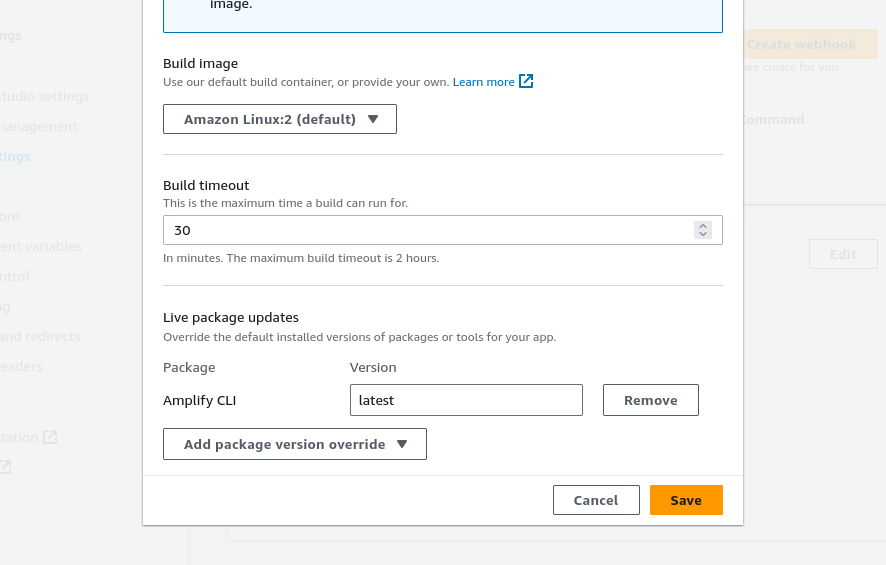
Edit build image settings >
Update the frontend to point to the backend environment that was just created

Setup Amplify Role in IAM
Now we have a warning, we need to setup a service role so that Amplify can deploy updates to the backend environment
https://docs.aws.amazon.com/amplify/latest/userguide/how-to-service-role-amplify-console.html
After following this guide you should have a new Role called AmplifyConsoleServiceRole-AmplifyRole. setup in IAM

Add the newly created service role in AWS Amplify console General settings
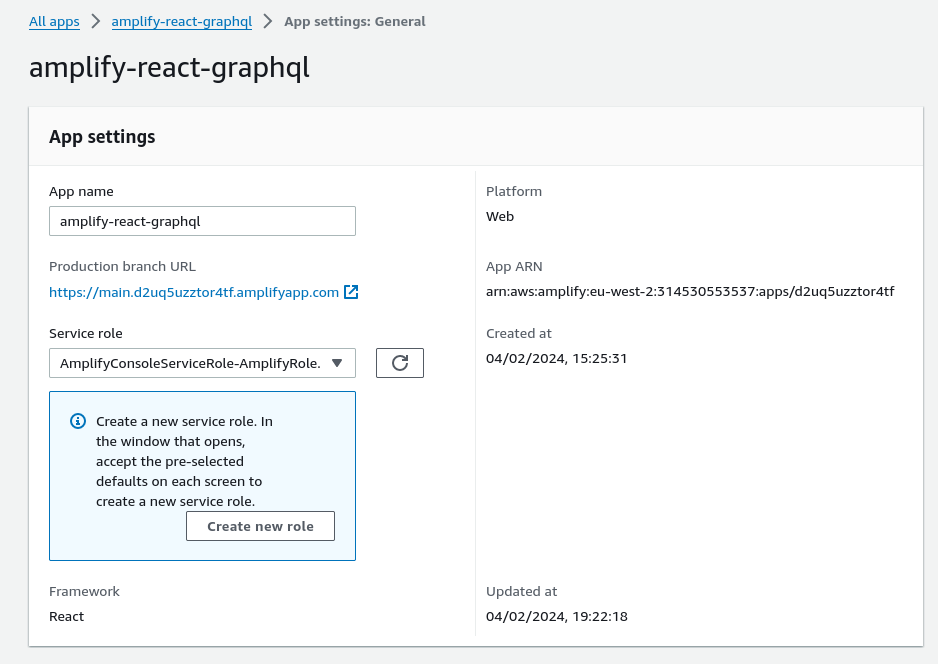
The Amplify console now has permissions to deploy backend resources.
Push changes to git either via VSCode, other code editor or via the usual git add, commit, push commands.
So in review of this section we have use authentication setup in our app via AWS
Amplify/AWS Cognito and we have backend deployment authorised with AWS Amplify
Now it is time to setup GraphQL API that uses AWS AppSync and deploy front end code that will deploy a Notes app.
Add Amplify GraphQL API
From within the amplifyapp directory run the following command
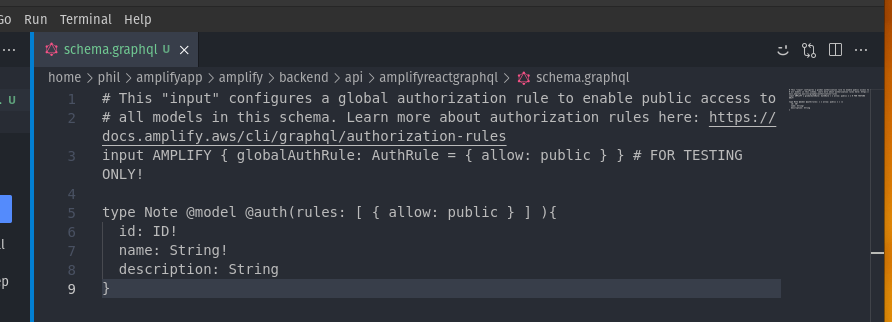
amplify add apiUpdate the Schema and save the file
Deploy the API - Push the locally configured API to deploy it
amplify push --yThis will do three things:
- Create the AWS AppSync API
- Create a DynamoDB table
- Create the local GraphQL operations in a folder located at src/graphql that you can use to query the API
We can now view the GraphQL API in our AWS account
amplify console api

>Choose GraphLQ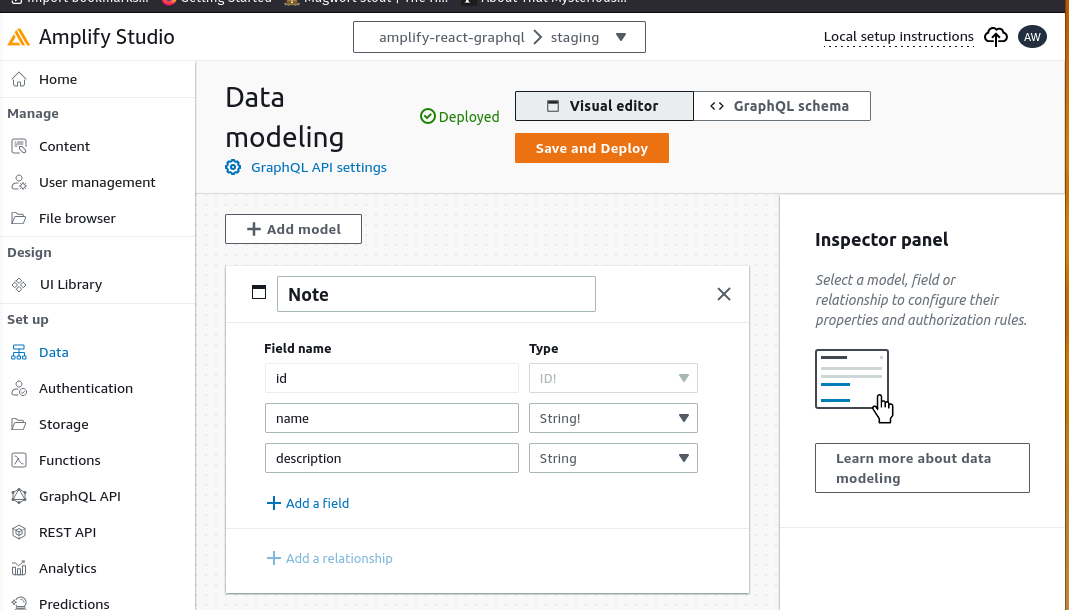
OK next we need to edit the app.js code to add notes functionality to our app
Troubleshoot problems with the Javascript code
Right it appears this code is out of date and has issues with the API
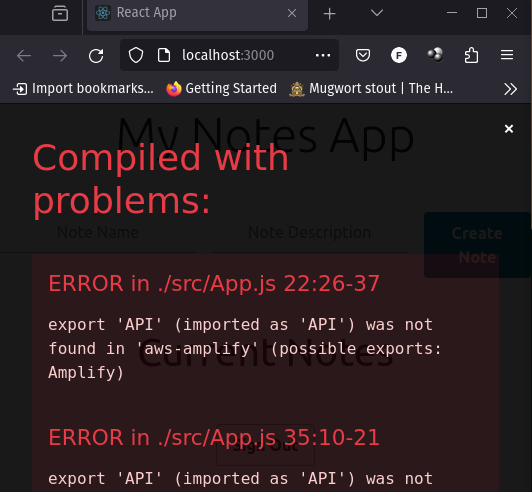
A working solution was posted on the following site >
https://github.com/aws-amplify/amplify-js/issues/12635
Test Notes App functions correctly
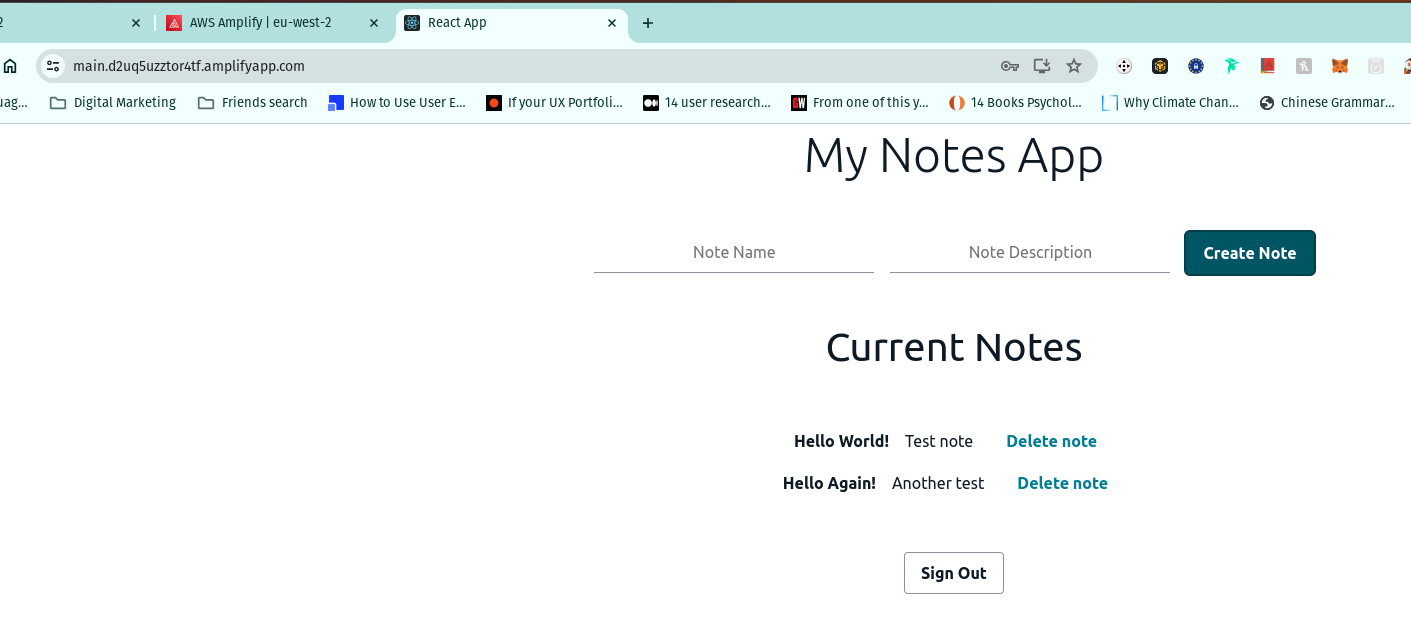
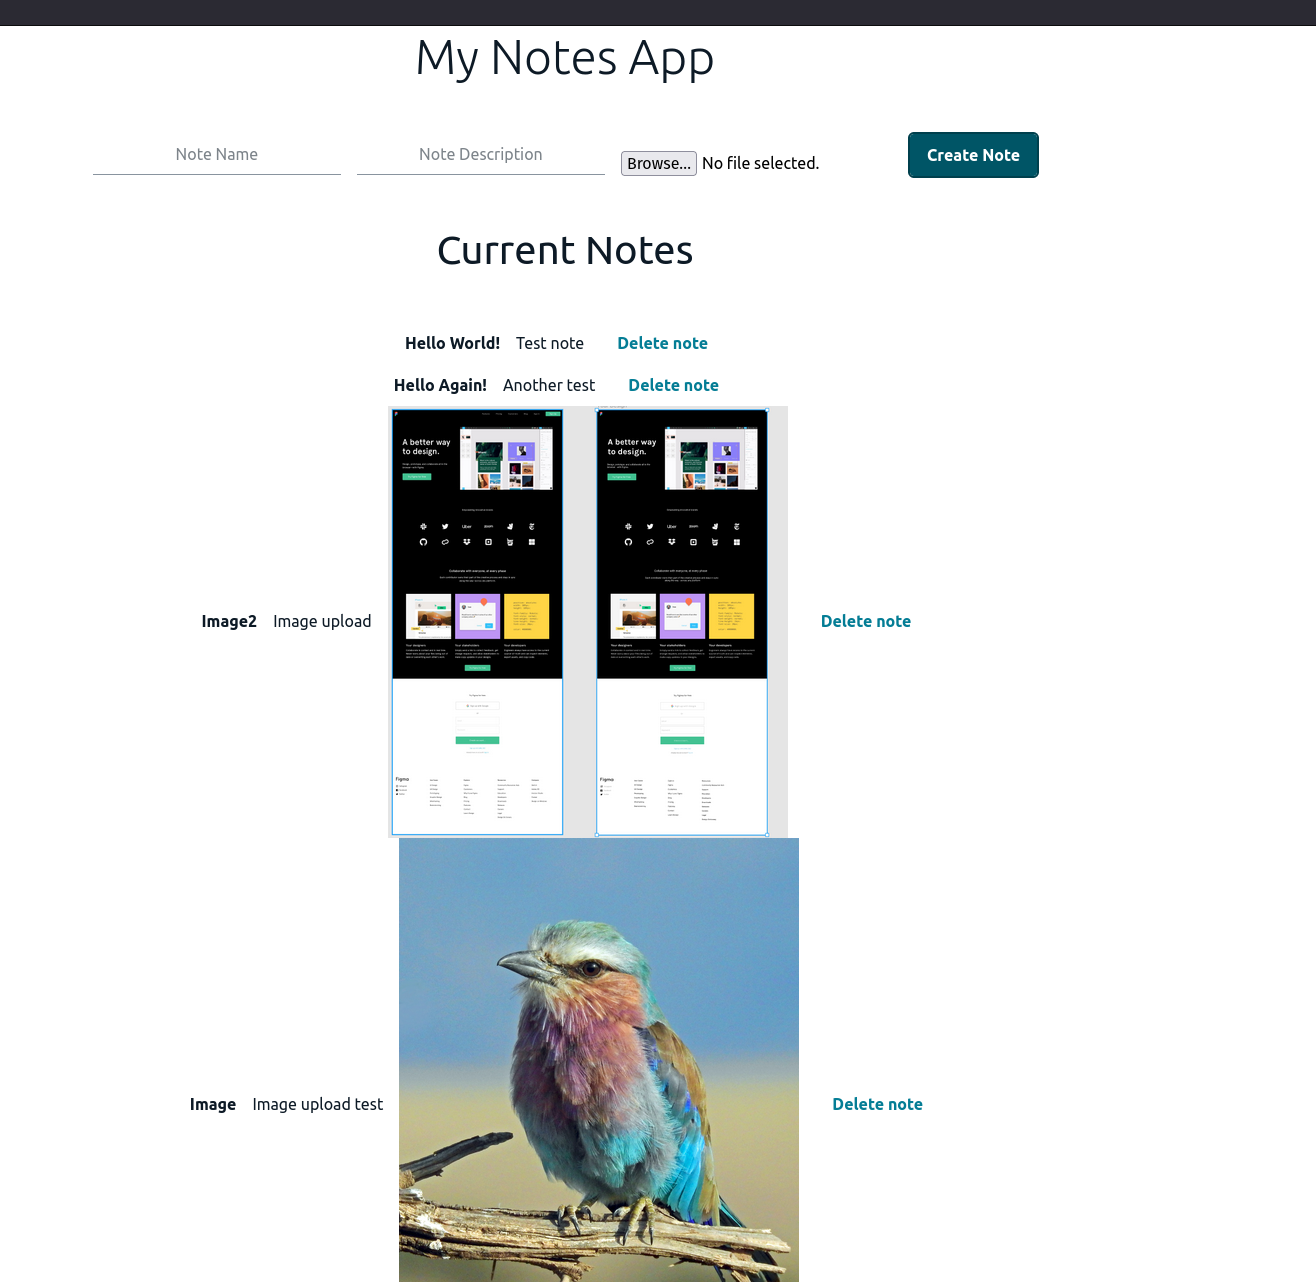
Replacing the code suggested by the tutorial for the revised code, now allows the Notes App to function correctly!
So we have a working Notes app that we can create user sign it to access the notes, we have a working GraphQL API and have create,read and delete functionality in our app. The tutorial hasn’t suggested to push the changes but we can do that and test it. Sure enough the app works hosted by Amplify, and we’re able to create a
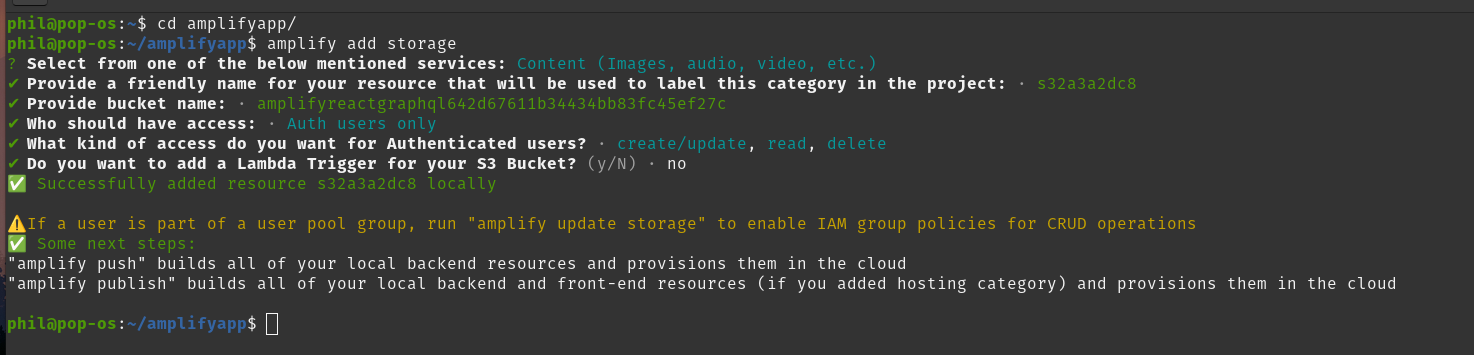
Create Amplify S3 Storage
Create the storage service, when asked What kind of access do you want for Authenticated users? Use CTRL + A to select all then you’ll have create/delete. read. update selected
Add image: String to amplify/backend/api/notesapp/schema.graphql
type Note @model @auth(rules: [ { allow: public } ] ){
  id: ID!
  name: String!
  description: String
  image: String
}
Deploy storage service and API updates
amplify push --yAdd Storage class and image component to Amplify imports in src/app.js
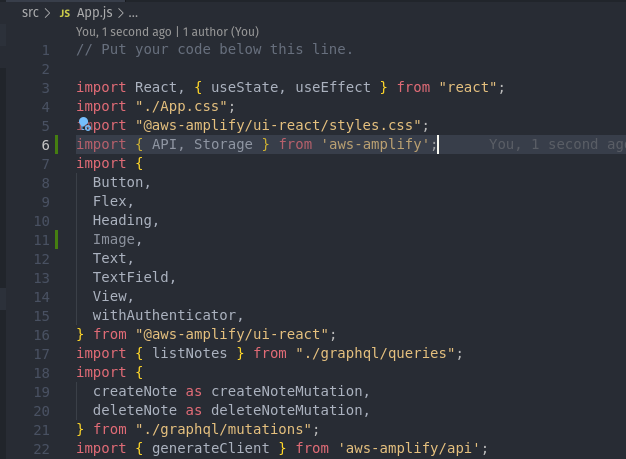
Also edit the code for createNote function, deleteNote function and add the additional input to the form in the return block.
Refer to https://github.com/aws-amplify/amplify-js/issues/12635 for updated code to fix the API issue mentioned earlier, there is additional code that updates the API calls so they are correct for the new code which updates/adds functions to the code.
Push the changes to GitHub via VSCode, or via terminal git commands as described earlier.
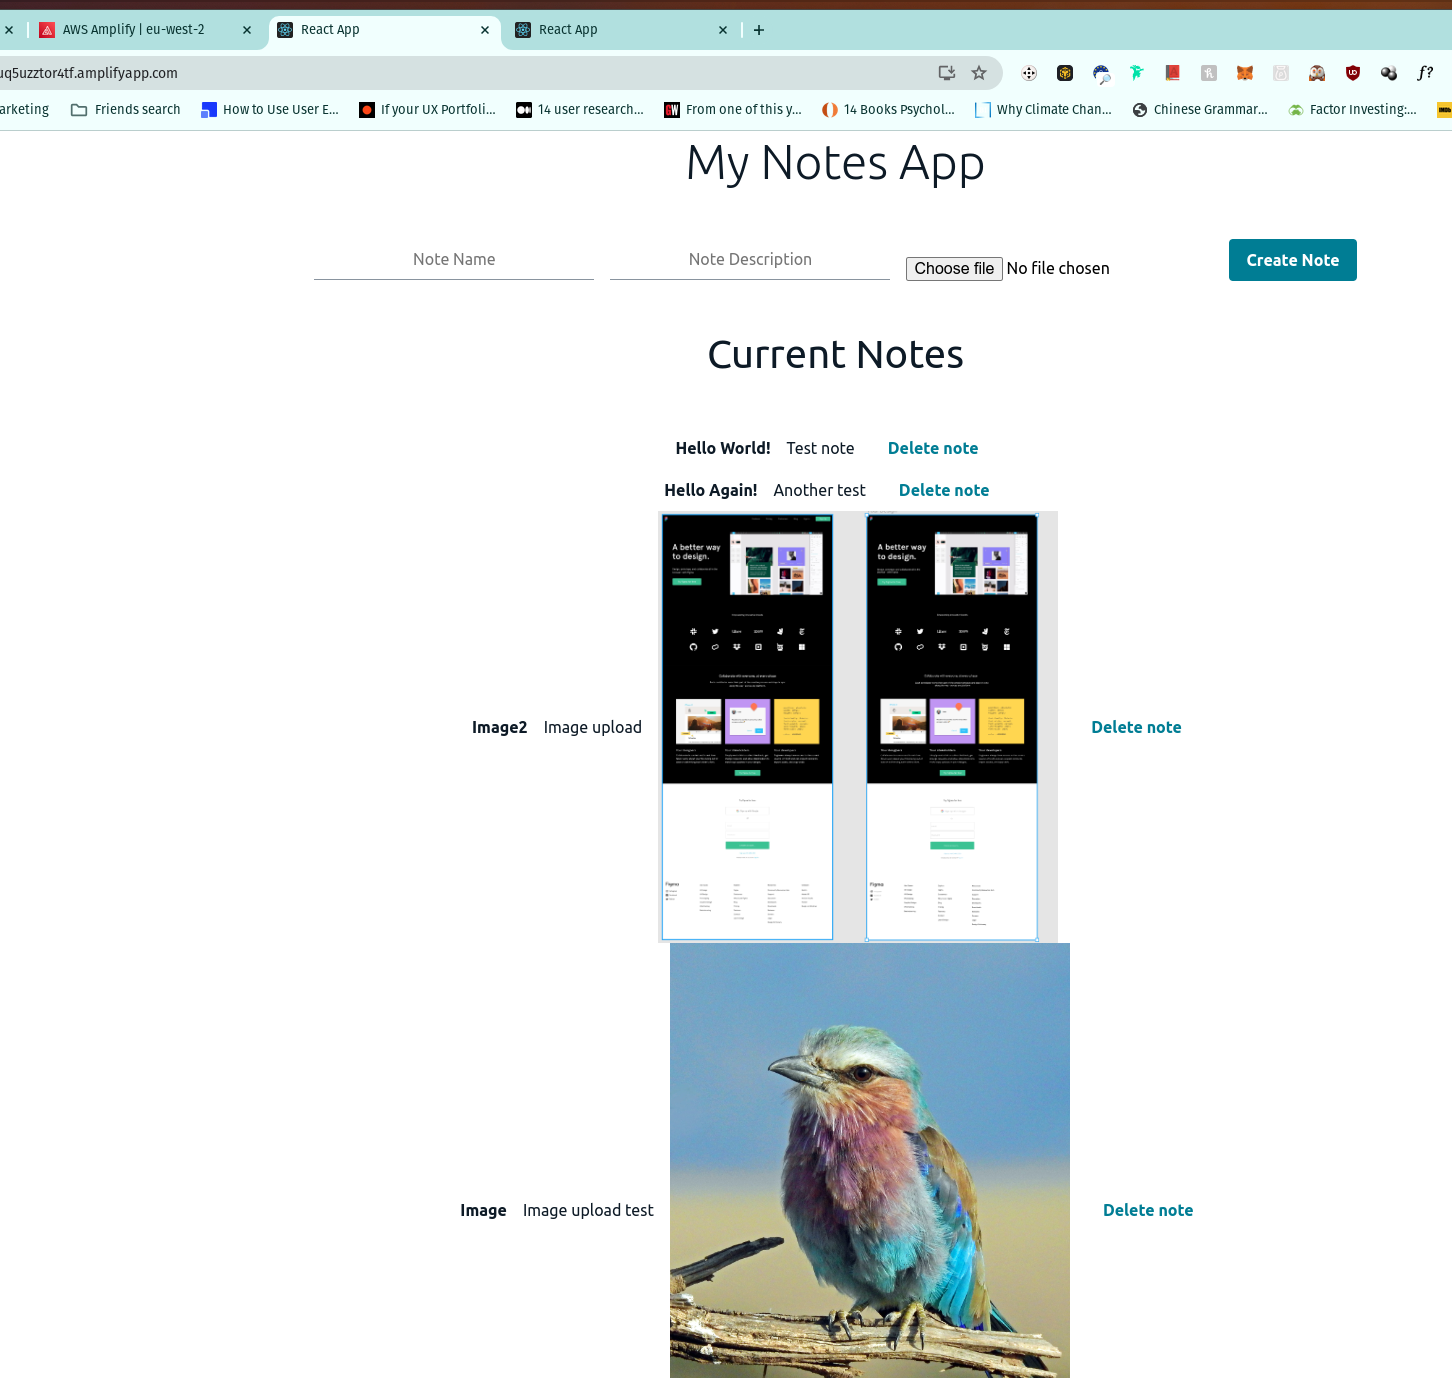
Success! Our Notes app now has image upload capability and storage on Amazon S3 Bucket for the images.
Local test of the app via > npm start
Pushed changes to GitHub and Amplify is hosting the revised application
Cleanup Resources
Lastly we need to delete the resources we created.

Push changes with amplify push and lastly run amplify delete
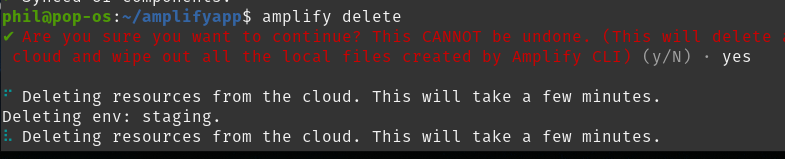
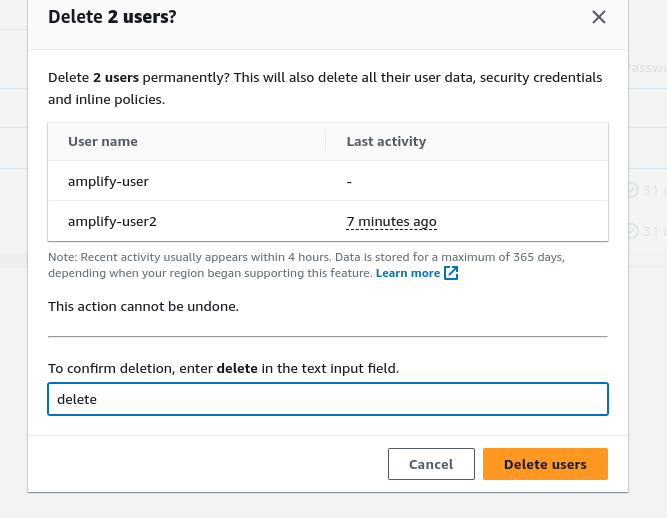
Once these commands have completed we’ll now audit the resource usage in our AWS account to make sure that resources have been cleaned up and manually remove any where applicable.
We can delete the Amplify role we made and any Amplify IAM Users we created

In AWS Cognito delete Amplify backend manager

This was a successful deployment of a React application using AWS Amplify, AWS Cognito authentication was added to the app to allow users to create accounts and sign it. The app had a scalable GraphQL API utilising a AWS DynamoDB database, which facilitates Notes to be created,edited,deleted and an S3 Bucket object storage to store uploaded image files which are associated with each note.
Notes:
Utilise AWS Resource Explorer and AWS Cost Explorer to further assess resource usage and also any incurred costs for this project.